|
1) SANDING
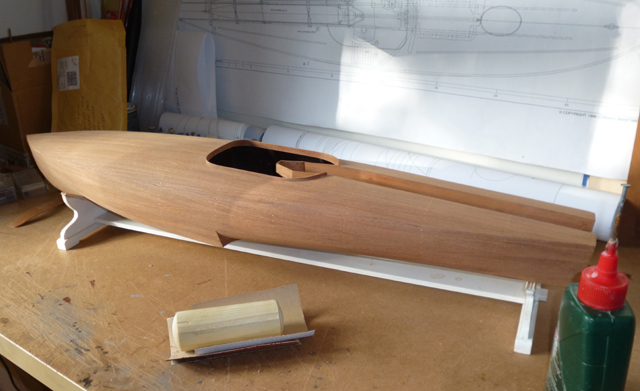
A thorough sanding is needed to bring the model up to a standard where it can be varnished. Most of the work can be done with an orbital sander, but the area round the cockpit needs to be done by hand. |
 |
|
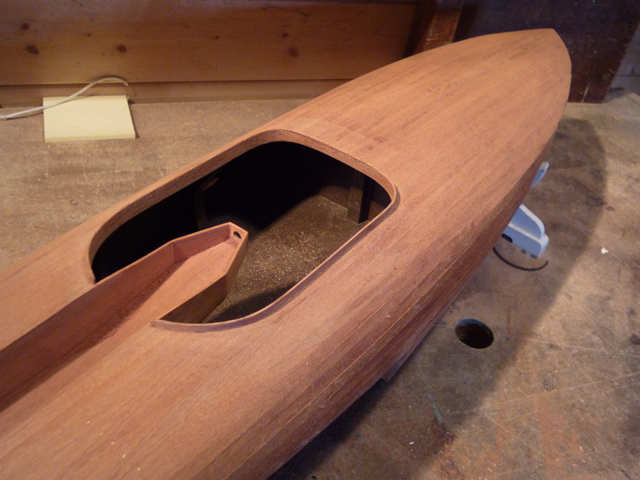
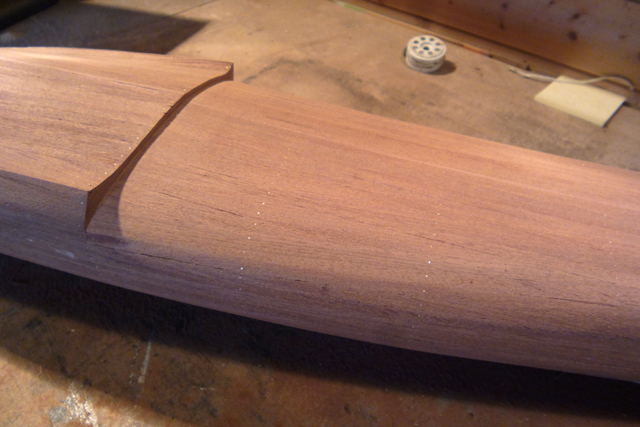
As the secondary planking is being sanded
smooth, the final look of the model starts to emerge. Sand it as smooth as
possible, paying particular attention to the concave areas underneath the front.
The rearmost section of the stem (on the left in the photo) is sanded flush with the hull.
We now have a mahogany boat! |
|
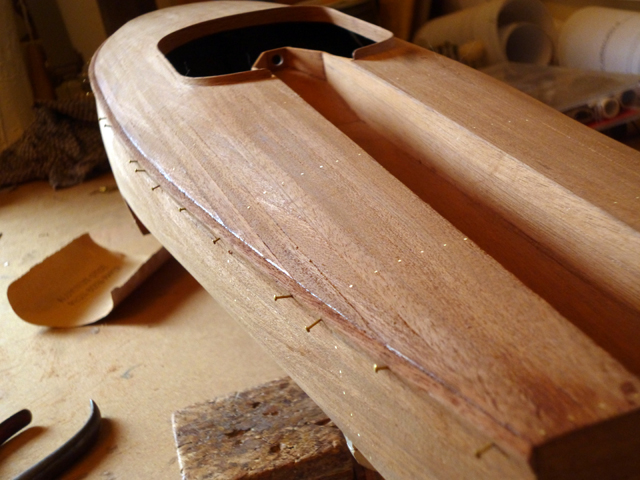
| 2) GUNWALES The gunwales are 3x3mm sapele and very tricky to fit. Not only must they be steamed to fit the curve, but the inner sides must be angled to sit on the hull which varies from square to curved. Also add two short sections of 3x3 sapele on the transom. Sand the gunwales to the correct section. |
 |
|
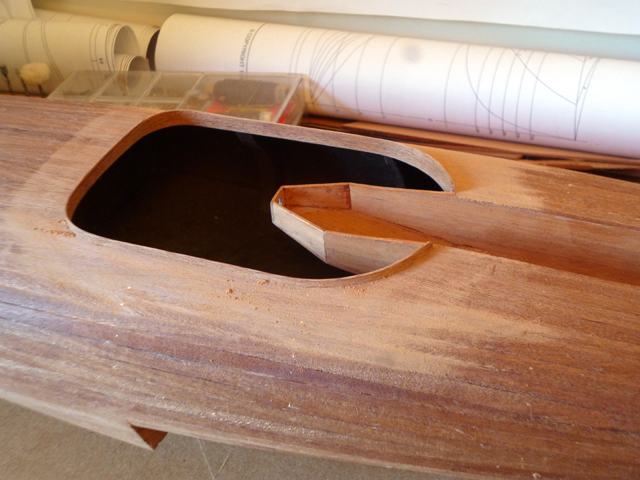
3) RUBBING STRAKES & DECK HATCH The short rubbing strakes (not shown here) are made from sapele strip and glued to the hull above each exhaust port. The deck hatch is made from an oval of balsa wood, veneered and edged with sapele, then sanded concave underneath to fit the deck. |
s.jpg) |
|
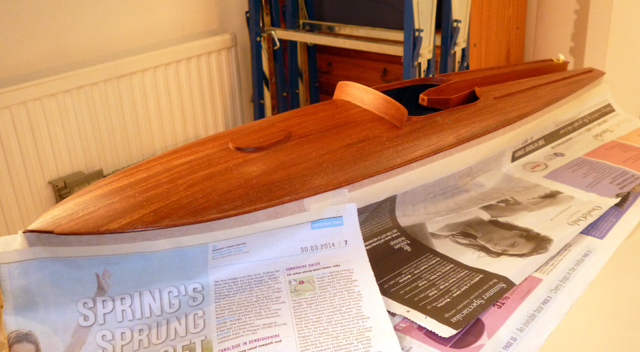
4) VARNISHING Note: If I was making this model again I'd fit the handrails (see below) before varnishing, as the glue would stick better. Make sure the surfaces are scrupulously clean and free from any dust specks before varnishing. I used a gloss aerosol varnish for a quick, smooth finish, and sprayed the model in two stages using the gunwales as a convenient break point. |
 |
|
5) TRIM The part that looks like a windscreen on the plans is actually a solid sprayshield. This is cut from 1/16" mahogany sheet, steamed to the correct curve and fixed with superglue. Little pieces of masking tape aid positioning.
Handrails are prepared from 3x2mm sapele and fixed with superglue.
The front handrails were much harder to fit due to the downward curve of the deck. Steaming would have made it much easier, but I'd already cut out the handholds. This photo also shows the nose fitting (see 'Brass fittings'). |
.jpg)
.jpg) |
|
|
.jpg)