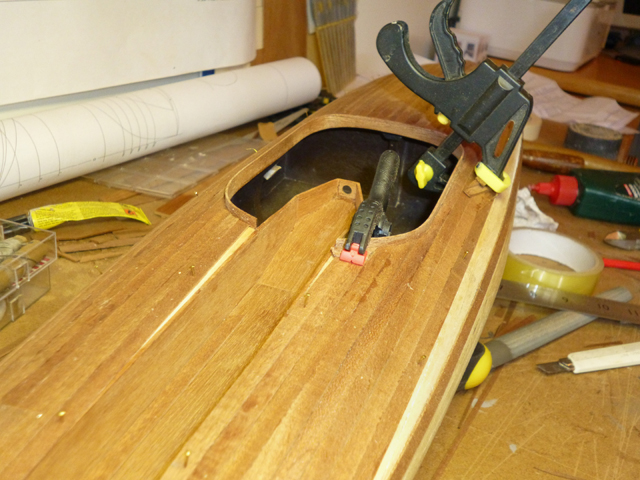
| 1) STEM There are two ways to make the stem. One is to complete the secondary planking, sand a 3mm flat on the prow and add the stem superficially, the other is to add it now (after sanding a 3mm flat on the first planking) and fit the secondary planking up to it. I chose the latter as it avoids any inconsistencies and is more how a real boat is built. The stem is 3x3mm sapele and must be steamed until it fits the curve of the prow. Once fitted, another piece is laid running back to the step. Note: In the event that you prefer to paint the model, then no secondary planking is needed. You can just fill and paint the primary planking and jump to the gunwales on the next page. |
 |
|
Now the secondary planking (6x1mm sapele) begins. This will form most of the final visual look of the boat and so must be done as well as possible. The first area to secondary plank is the transom, using the strips horizontally. It's a good way to get your hand in before the starting the larger areas.
2) DECK PLANKING
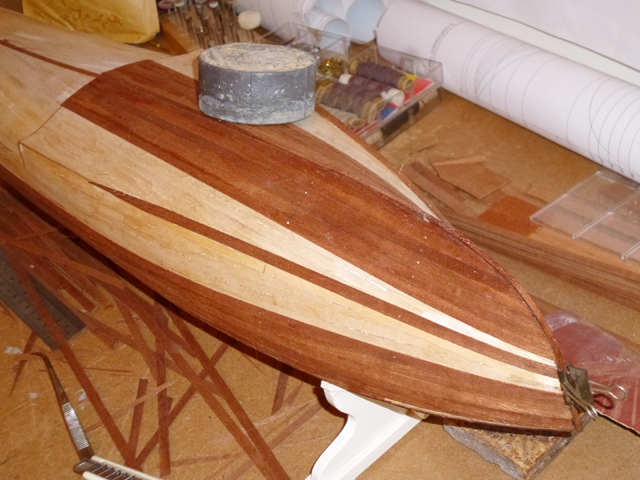
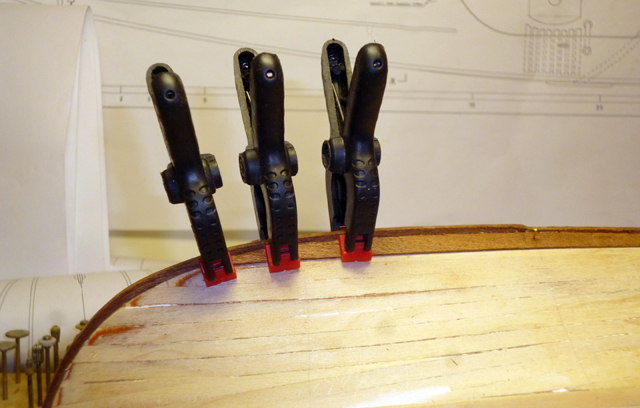
Start with the front deck, working from coaming to prow and outwards from the centre. Pins and masking tape are used to hold the planks while the glue (PVA) dries.
You now have a choice regarding the pins. You can either pull them out, like the first planking, or cut the heads off and hammer the rest in. This will give a pleasing (though not strictly authentic) look to the finished model.
|
|
| Carefully add the key plank that runs along just under the gunwale. Now, in the same way as the first planking, work back around the cockpit, down to the gunwale and inwards to the torpedo trough. | 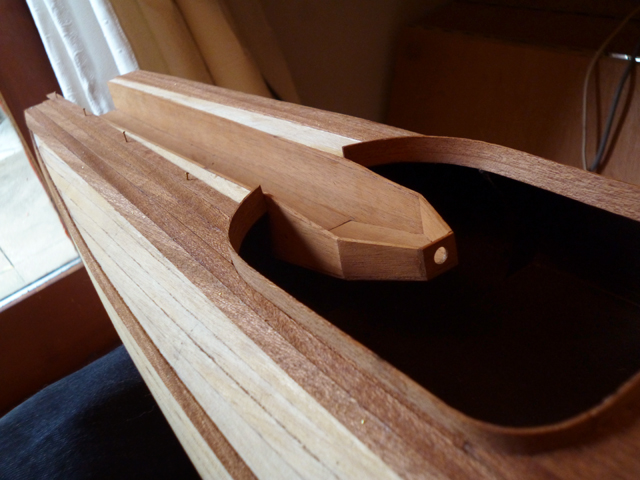
|
|
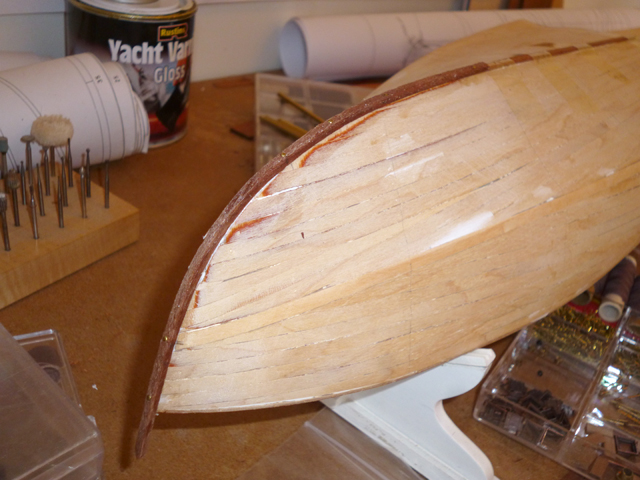
3) UNDERNEATH PLANKING First, plank the small vertical edge of the step (F5) and trim/sand it until flush. Now plank the lower part of the hull from step to prow, working outwards from the central stem strip. Cut and chamfer the planks carefully to ensure a good fit against the stem.
A key plank here is the one under the chine, so fit that before you reach the edge.
When the front underside is planked, proceed to plank the sides. |
|
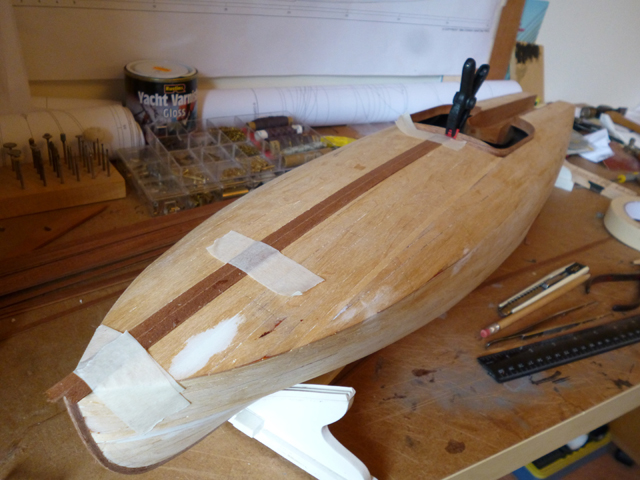
| The final section is the easiest - the underneath from step to transom. | 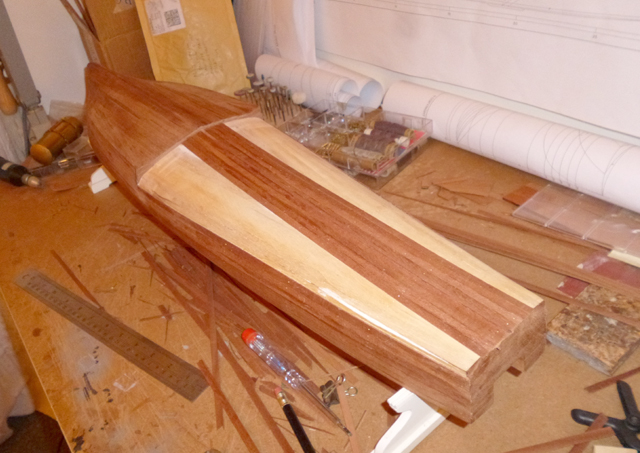 |
|
|