|
|
Now it's time to decide what wood you want to finish the model in. Having decided on mahogany I evaluated several types and decided on sapele. It's more brittle and prone to splintering than others, but the colour and grain made it worthwhile. From this stage onwards all the wood used is mahogany. 1) TORPEDO TROUGH This is the first part of the construction that will be seen in the finished model, so work accurately because there's no room for error. Using good quality 1/16" mahogany sheet, cut and fit the bottom of the torpedo trough. Ensure the formers are in line and make any necessary adjustments. Then cut and fit the sides, leaving at least 1mm above the deck planking.
|
 |
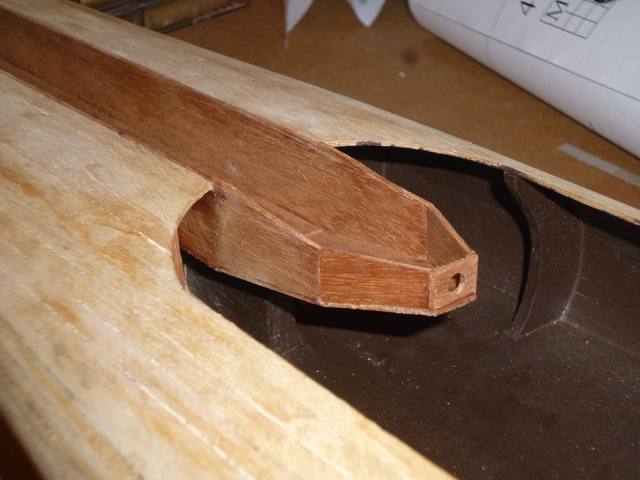
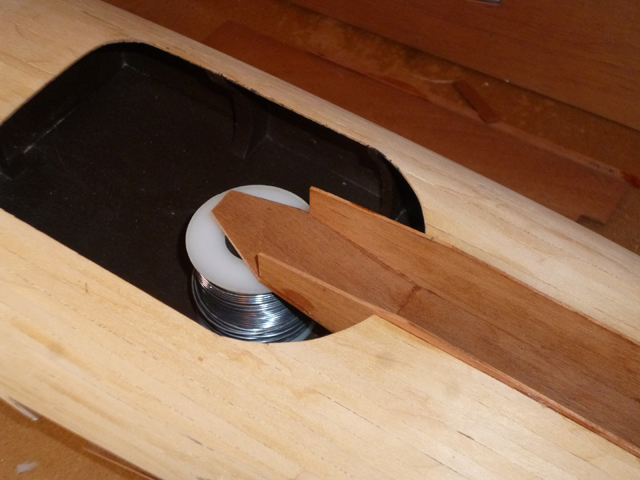
| The four small front sections of the torpedo trough not only
depend on each other but are built projecting into space, so be careful
with the overlaps as they affect the size of each piece. Carefully cut and glue the forward sections of the torpedo trough in place. NOTE: The cockpit will later become quite a 3D jigsaw as you fit all the contents in, so it's vital to get everything in exactly the right position starting with this section. Check the plans frequently because you'll need millimetre accuracy in all dimensions. In this photo a reel of solder is being used to support the lower section while the glue dries.
It looks a little rough here but careful fine sanding will attend to that. I drilled the hole for the torpedo ram before assembly as it was easier. |
|
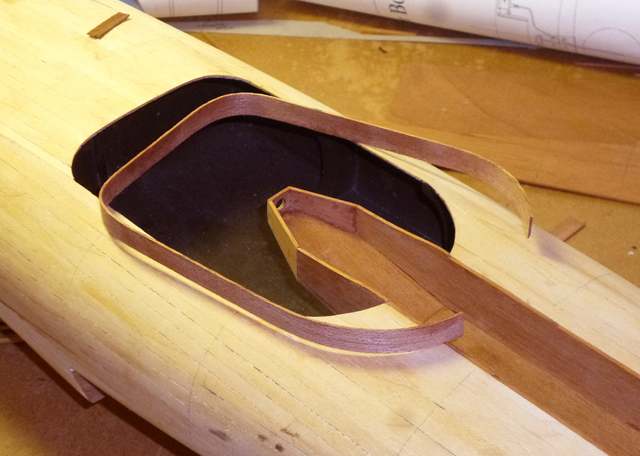
| 2) COCKPIT COAMING This photo shows the sides of the torpedo trough sanded flush with the deck. But note that where they project forwards into the cockpit they're left higher, leaving a tiny step. That way when the secondary planking goes on, the top surfaces will end up flush. The cockpit coaming is made from 10x1mm sapele. Steam the front corners to shape first...
...then steam the rear curves and trim the ends until it fits snugly inside the cockpit edge.
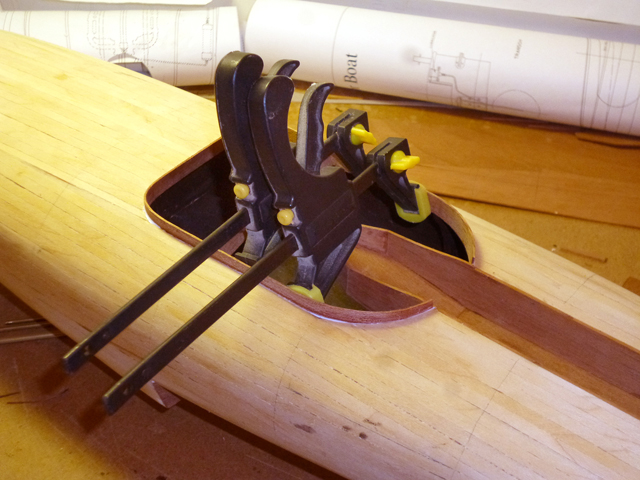
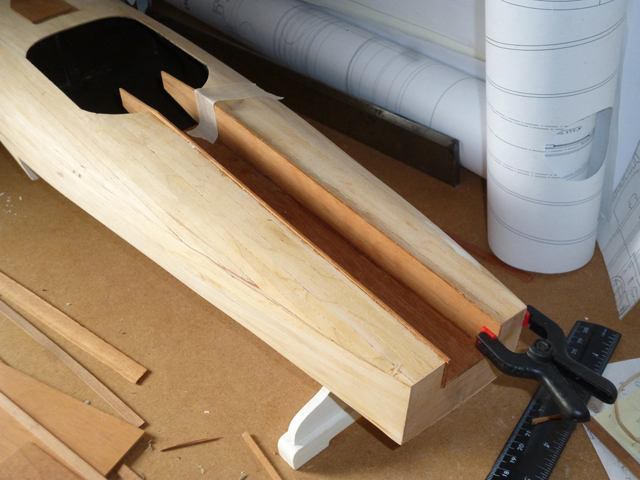
Use whatever means you have to hold the coaming in place while the glue dries. Work this out before you put the glue on! When dry, trim and sand the coaming down until the height above deck is constant all round. |
|